Seal a Flat Roof with Liquid Rubber — Step by Step

TL;DR. An average flat roof (60-100 m²) can be renovated with elastic liquid rubber in one weekend — without a blowtorch, without a professional, and with only approx. 0.3 kg of material per square meter. The coating is dust-dry in 2 hours and rain-resistant after 6 hours.
Why traditional bitumen sheets fail
In theory, torch-on bitumen membranes last 10-15 years — but in practice, often only 5-7 years. The critical weaknesses:
- Seams and connections tear due to thermal movement of the substrate
- Open flame during installation — fire hazard, insurance requirements
- UV radiation makes the bitumen brittle; it tears in winter
- Repairs require reheating and precise fitting
Liquid rubber based on acrylic latex solves all four problems: applied cold, seamless, elastic down to -20 °C, and paintable for repairs.
Step 1: Prepare the substrate
Clean the entire roof surface with a high-pressure cleaner or stiff brush. Remove loose bitumen residues, moss, and algae. Eliminate grease with warm water and dish soap. Fill cracks larger than 3 mm with elastic sealant beforehand.
Step 2: Seal connections and details
Before painting the main surface, treat all critical transitions separately:
- Transitions to parapets and balustrades
- Ventilation pipes and roof drains
- Gutter connections
- Skylights and rooflights
Apply a first layer of liquid rubber to the transitions, press in a reinforcing fleece thoroughly, and paint over it with a second layer. This creates reinforced crack bridging at the weakest points.
Step 3: Apply the first coat
Dilute the first coat with 0-5% water. Apply it evenly with a brush, lambskin roller, or airless sprayer — consumption approx. 100-200 g/m². Start on the side furthest from the wall and work towards the roof exit.
Airless settings for liquid rubber:
- Nozzle size: 0.017" to 0.023"
- Pressure: 15-18 MPa (approx. 150-180 bar)
- Spray distance: 25-30 cm
Step 4: Intermediate coat pause
Allow to cure for at least 4 hours at 23 °C and 50% relative humidity. Longer if the weather is cooler or humidity is higher. The first coat must be completely dry before applying the second — otherwise, bubbles will form.
Step 5: Second coat and curing
Apply the second coat undiluted — consumption again approx. 100-200 g/m². Rain-resistant after 6 hours, carefully walkable after 24 hours, fully mechanically loadable after 28 days.
Common mistakes
- Application during frost — curing is interrupted, coating becomes brittle
- Application in direct sunlight — the surface dries too quickly, cracks form
- Too thick single coats — the underlying layer remains damp and forms bubbles
Calculate material requirements
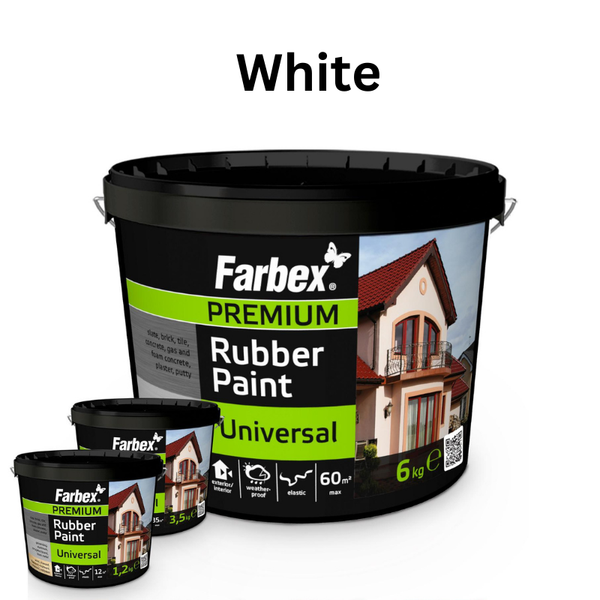
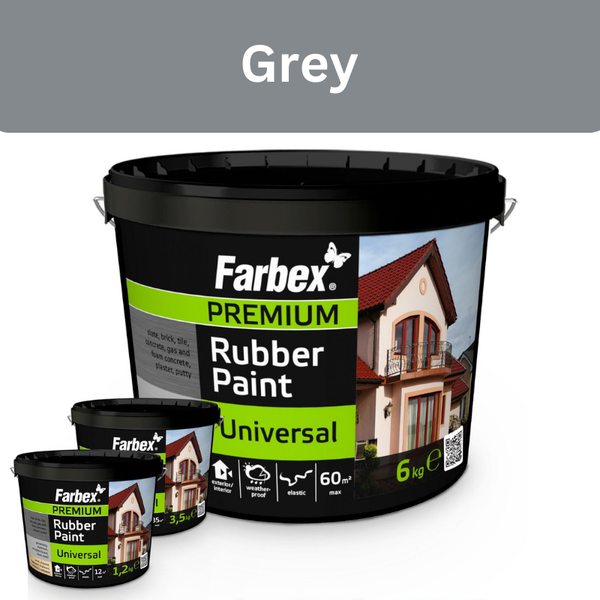
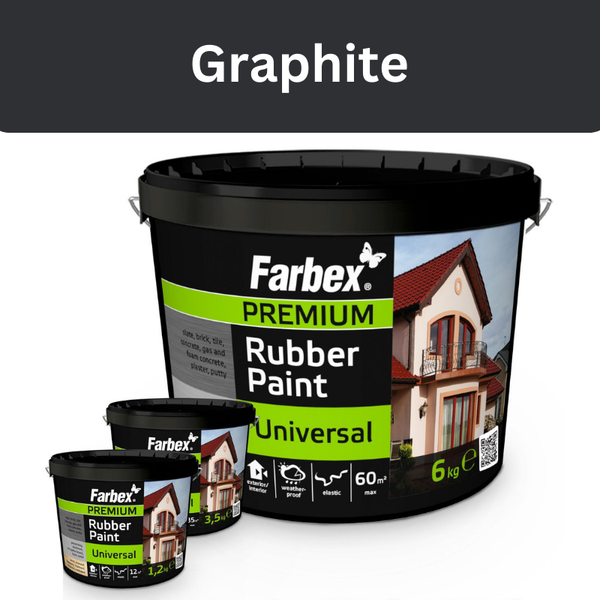
For a 60 m² flat roof, you will need around 18 kg of liquid rubber for 2 coats (0.3 kg/m²). We recommend a 10% reserve for connections and touch-ups — so approx. 20 kg.
The 12 kg containers are ideal for medium-sized roofs, the 6 kg container is sufficient for smaller flat roof extensions and carports.
RubberPaint Redaktion
Technische Redaktion · RubberPaint